Bay Area Drywall Repairs That Stay Smooth After Paint

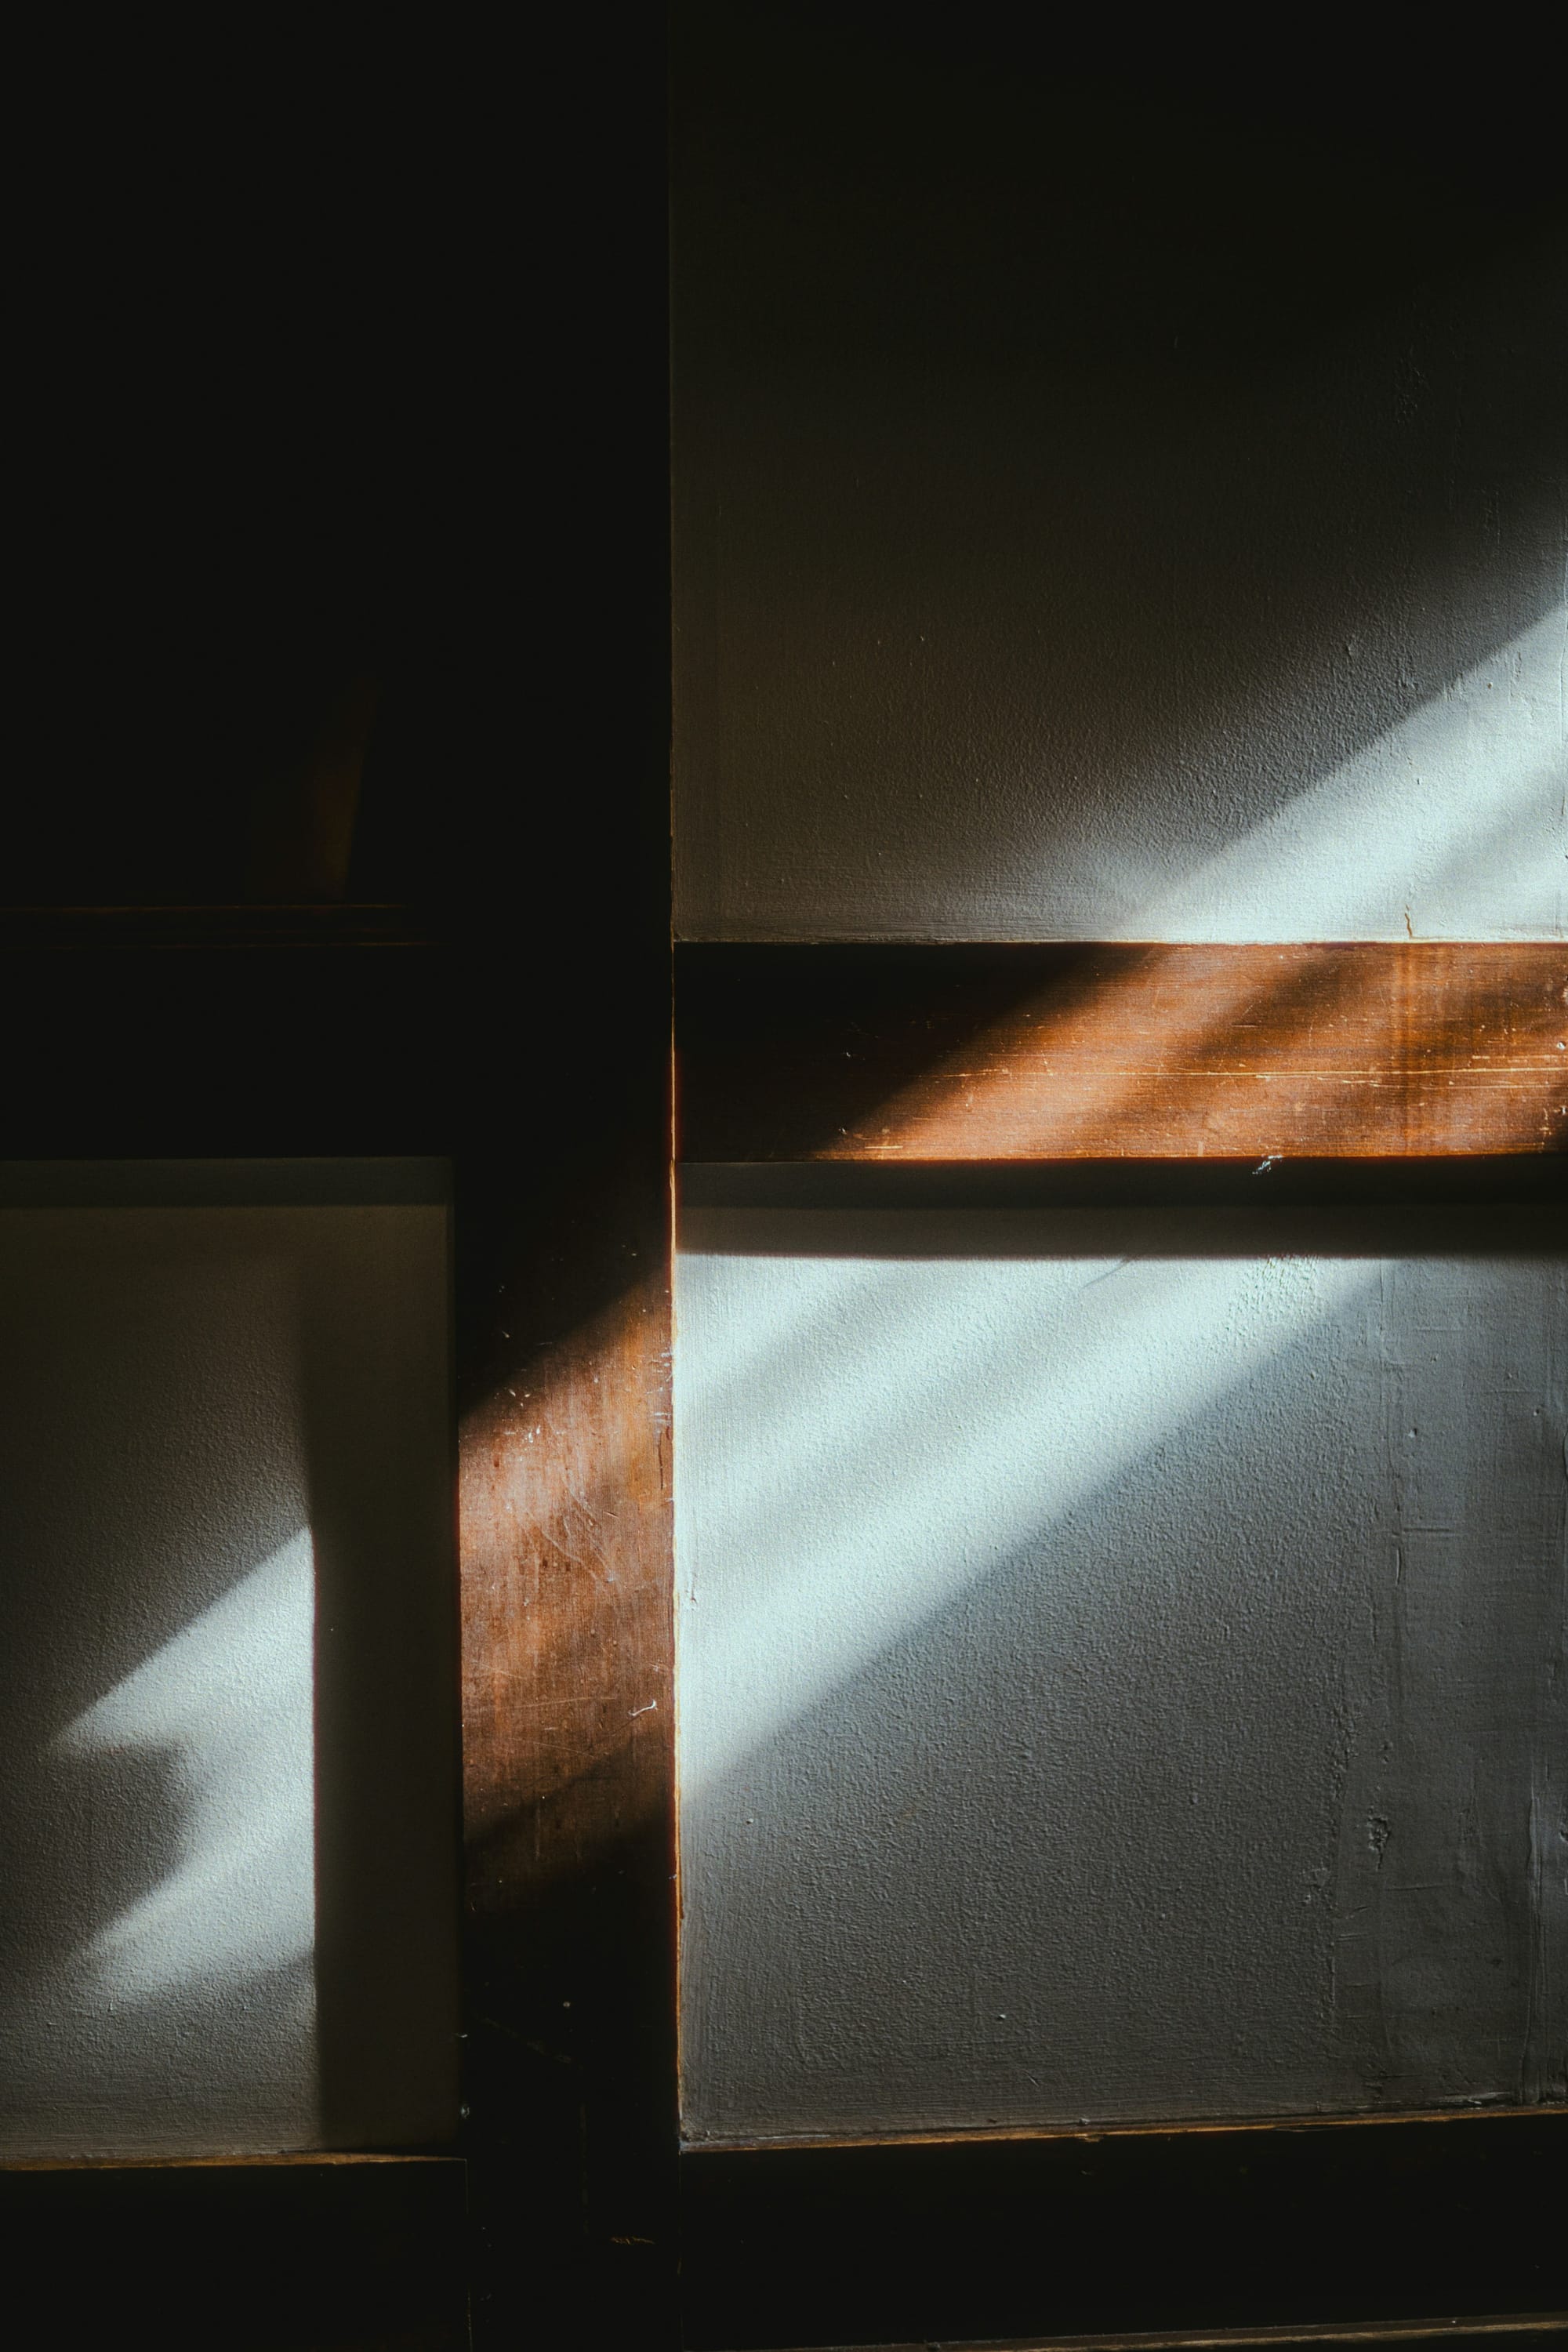
Drywall problems show up in the last ten percent of a project. You finish painting, then a patch line flashes under window light. A ceiling repair looks flat in the morning and wavy at night. A corner bead line telegraphs through a satin finish. Homeowners often blame paint, but drywall finishing sets the base for every surface.
In the Bay Area, drywall work often mixes old and new. Many homes in Oakland, Berkeley, San Francisco, and San Jose include older framing, prior remodel seams, and ceiling textures from different eras. Fog, shade patterns, and coastal moisture also affect drying time and moisture damage. A structured approach helps you get a result that looks consistent in daily light.
Start by classifying the drywall job
Drywall work falls into distinct categories. Each category needs a different plan and a different level of disruption.
Small repairs
These include nail pops, door handle holes, dents, and small cracks. Small repairs still need careful feathering, plus dust control.
Moisture damage repairs
Ceiling stains, bubbling paint, and soft drywall often trace back to leaks or condensation. Repairs need root cause fixes first.
Remodel and addition work
New drywall installation, new ceilings, and reworked walls need finish level decisions, corner planning, and schedule coordination with other trades.
Ask contractors to state which category fits your project, then ask them to describe steps from prep through primer readiness.
Moisture damage: fix the source before patching
A drywall repair never lasts when water continues to enter. When you see staining or soft spots, take a breath and slow down.
Homeowner checks that help:
• Look above the damage for plumbing lines, shower valves, or roof penetrations
• Check bathroom fan function and duct termination, especially in older homes
• Check window corners for failed caulk lines and missing drip details
• Check attic insulation and ventilation near the damaged ceiling area
Ask for a plan that includes drying and inspection before closing up. If the contractor removes damaged drywall, ask for photos of the cavity before they hang new board. That documentation helps if staining returns later.
Dust control and containment in lived in homes
Sanding dust travels. It settles in drawers. It clogs HVAC filters. It also irritates lungs and eyes.
Ask for a protection plan that covers:
• Plastic containment walls at doorways
• Floor protection along traffic paths
• Return air protection for HVAC systems
• Daily cleanup steps, not only end of job cleanup
• Vacuum assisted sanding where the job size warrants it
Before work starts, remove sensitive items, cover electronics, and clear closets near the work area.
Finish levels: match the finish to your lighting
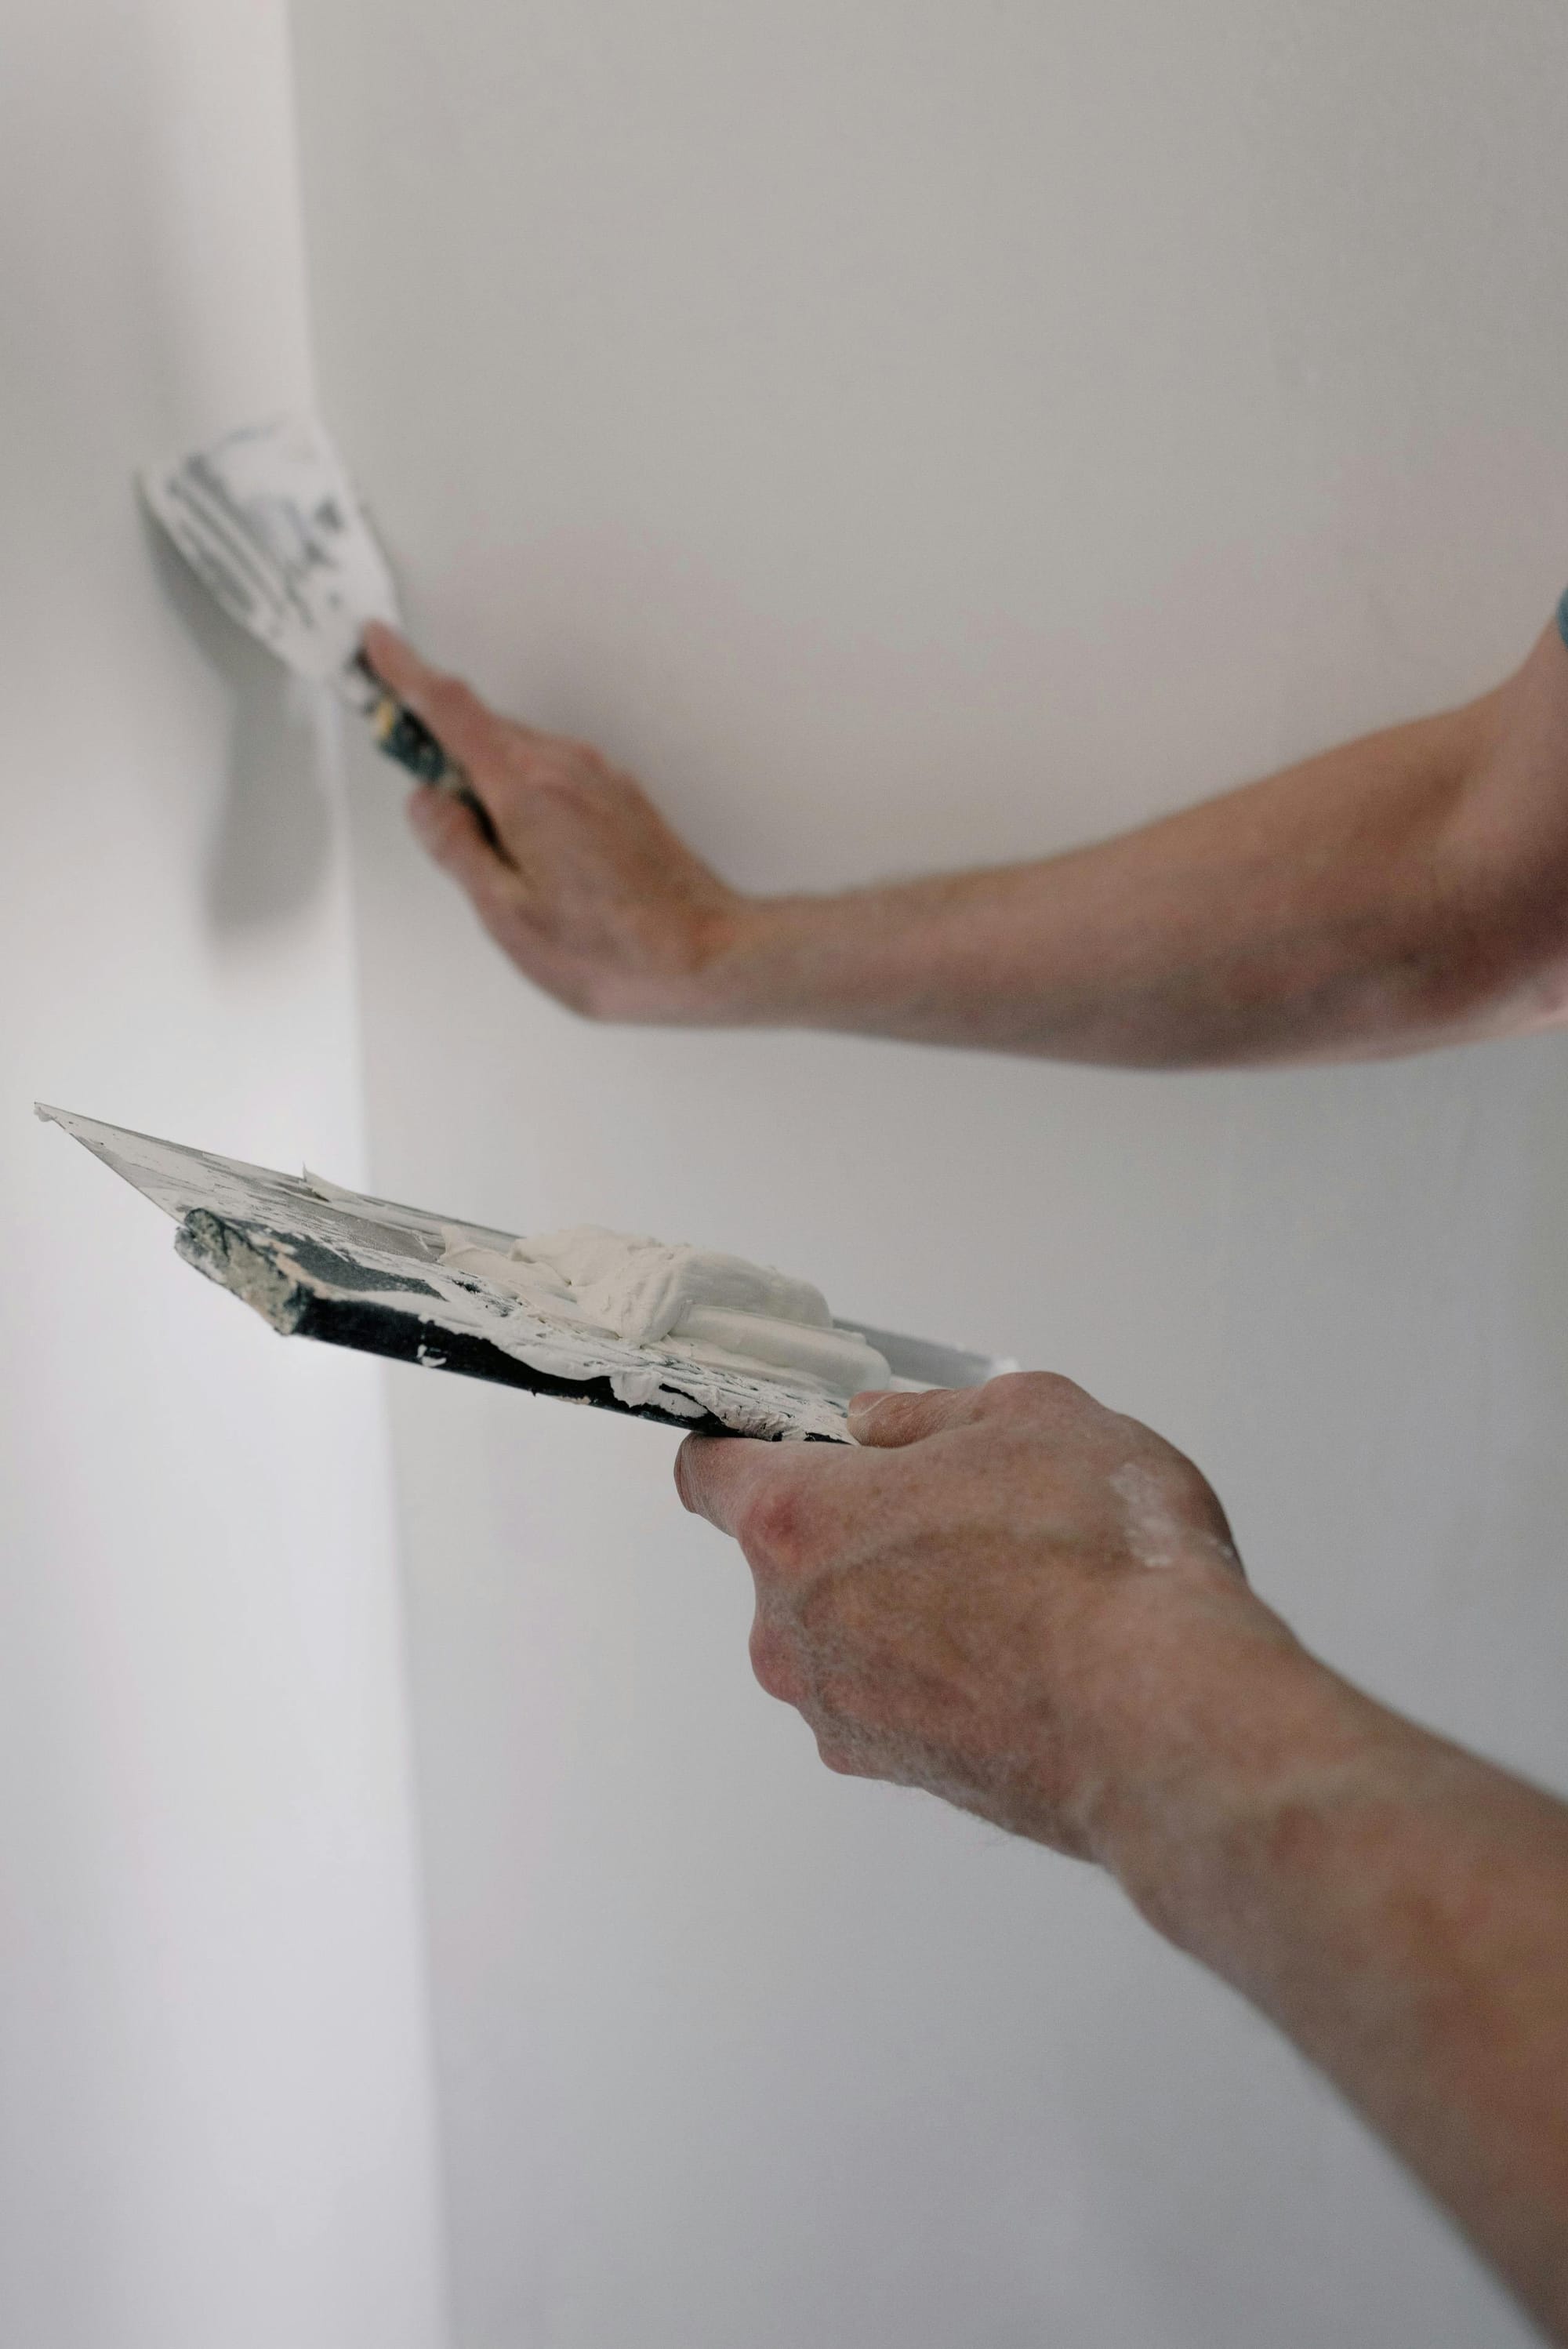
Drywall finish level drives how walls look after paint. Many homeowners pick finish levels without thinking about lighting and sheen.
Level 4
This finish suits many rooms with standard lighting and moderate sheen paint. It still shows flaws under strong side light.
Level 5
This finish includes a skim coat across the surface. It fits modern homes with large flat walls, strong daylight, glossy finishes, or strong wall wash lighting. In open concept spaces, level 5 often reduces patch flash and joint shadowing.
Ask bidders to state the finish level they plan, then ask them to describe how they achieve it. If you plan recessed lighting or wall sconces that graze the wall, choose finish quality that matches that reality.
Texture matching: treat ceilings as a separate skill
Ceiling texture repair often creates the most visible mismatch. Even a small patch reads from across a room.
Before a contractor sprays texture, ask for:
• Texture identification, such as knockdown, orange peel, or hand trowel
• A test patch in an inconspicuous area
• A plan for blending edges past the patch boundary
• A primer plan that locks the surface before paint
If you plan to remove texture, confirm material age and test for hazardous materials when the home predates modern rules. Do not allow scraping of unknown material.
Corners, joints, and the spots that fail first
Most drywall complaints start at transitions. Those areas need correct tape, bead, and compound choices.
Outside corners
Corner bead selection and fastening method affect straightness and durability. Ask how they protect corners during cure and sanding.
Butt joints
Butt joints need wider feathering to avoid a hump. Ask how wide they plan to float butt joints and how they handle alignment on long runs.
Ceiling to wall angles
Cracks often return at angles due to movement. Ask how they tape corners and what compound they use for strength.
Patches in high visibility zones
A patch near a window or a hallway light shows flaws easily. Ask how they plan lighting checks during sanding. A contractor who checks work with raking light spots issues earlier.
Coordination with paint
Drywall and paint meet at primer. A paint crew often expects a uniform, primed surface that holds sheen consistently.
Ask these questions:
• Who applies primer, drywall crew or painter
• What primer type they plan for new drywall and patches
• Whether they spot prime patches, then prime full walls when needed
• How they address sanding scratches and pinholes before primer
If you plan dark paint or glossy trim, insist on higher surface prep standards.
Scheduling: plan for drying time across microclimates
Bay Area microclimates affect cure time. Coastal fog and shade slow drying. Inland heat speeds drying, yet it also raises risk of shrinkage cracks if compound dries too fast.
Ask contractors how they plan:
• Number of coats of mud and expected dry intervals
• Ventilation and air movement during cure
• Humidity control in bathrooms and kitchens during repair work
• Protection of fresh mud from bumps and dust
A rushed schedule often leads to flashing patches and sanding ridges.
Bid comparison checklist
Drywall bids often look short. Force detail so you compare apples to apples.
Ask each bidder to list:
Area count and patch count, by room
Finish level target, level 4 or level 5
Texture scope and blending plan
Protection plan, dust containment, and cleanup routine
Primer responsibility and surface readiness standard
Repair limits for hidden moisture damage, with a change process
Review the Sulvaran Drywall report page as a neutral scope reference when you build your checklist, since it lists common drywall services such as drywall installation, drywall repair, drywall hole repair, mudding, sanding, textured ceilings, and level 5 drywall.
Walkthrough: inspect in real light
Do not inspect drywall only under bright work lights at night. Inspect during daylight and with the room lights on.
Walk a shallow angle across the wall and look for:
• Joint shadow lines
• Ripples near seams
• Corner bead waves
• Pinholes and sanding scratches
• Texture mismatches at patch boundaries
Mark issues with painter’s tape and write a short punch list. Keep the punch list tied to surface quality, not style preference.
Drywall work rewards planning and patience. When you control moisture sources, match finish level to