Common Home Window Tinting Mistakes to Avoid

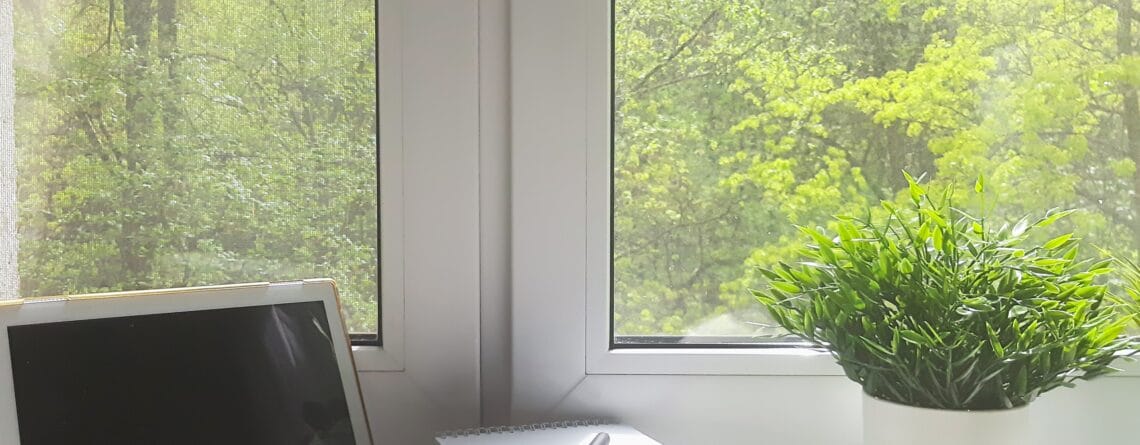
Window film sounds simple. Apply a layer, reduce glare, feel cooler. Many homeowners start with that expectation, then run into issues that feel confusing. A room looks darker than planned. Bubbles show up after install. Privacy feels different at night. Those problems usually trace back to planning gaps, not to the idea of film.
If you live in Huntsville, Alabama, your home might sit under heavy tree shade, on a hill where wind shifts, or in a neighborhood with mixed building eras. Those local factors change sun exposure and comfort needs. This guide covers common mistakes and the checks that prevent them.
Mistake 1: Choosing film based on tint shade alone
Some homeowners choose film like sunglasses. Darker equals cooler. That approach often disappoints.
Better approach:
• Define the main problem, heat, glare, fading, or privacy
• Pick a film category that targets that problem
• Decide on appearance last, once you see samples in your lighting
A neutral, lighter-looking film often fits living spaces where you want daylight. A darker look fits bedrooms or media rooms where light control matters more.
Mistake 2: Skipping a sun and glare walkthrough
Glare moves. It shifts by season and by time of day. A quick walkthrough tells you where film matters most.
Do this in one day:
Morning: note east-facing rooms that warm early
Midday: note south-facing windows that brighten and warm the core of the home
Late afternoon: note west-facing rooms that spike in heat and glare
In Huntsville, late-day sun often hits hard on west elevations. In neighborhoods near Monte Sano, shifting shade patterns also change how sun hits glass. That makes the walkthrough even more useful.
Mistake 3: Ignoring window construction and seal condition
Film sits on the interior surface of the glass. The glass unit still does the heavy lifting. If a window already shows seal failure, fogging between panes, or water intrusion, film will not fix that.
Before you commit to film, check:
• Any foggy appearance between panes
• Moisture inside the window frame
• Cracked glazing or loose gaskets
• Drafts that point to air sealing needs
Ask the installer to identify glass type. Many homes include a mix of insulated glass, tempered glass in doors, and low-E coated units. Film selection should account for those differences.
Mistake 4: Forgetting nighttime privacy
Daytime privacy and nighttime privacy do not behave the same way. When you turn on interior lights at night, people outside see in more easily.
Plan around how you live:
• For bathrooms and sidelights, consider frosted or decorative film that provides privacy day and night
• For street-facing living rooms, pair daytime privacy film with shades or curtains for night
• For bedrooms, consider both film and window coverings, since sleep comfort depends on darkness and privacy
Mistake 5: Missing the impact of reflective looks on the exterior
Reflective films change how your home looks from outside. In some Huntsville subdivisions, HOA rules focus on exterior uniformity. Even without HOA limits, a reflective look might feel out of place on a traditional home.
Before you choose a mirrored finish:
• View a sample outdoors, not only indoors
• Look at it at different times of day
• Consider how it pairs with brick, siding, and trim colors

Mistake 6: Assuming one film fits the entire home
A common shortcut is one film across every window. That rarely fits real needs.
A better plan often looks like:
• Stronger solar control on west and southwest windows
• Lighter or clearer film on shaded north windows
• Frosted film for bathrooms and sidelights
• Optional safety film on vulnerable panes or doors
Huntsville homes built across different decades often include window replacements done in stages. One-room-at-a-time upgrades mean you might need multiple film selections to match glass types and comfort goals.
Mistake 7: Not asking what the install includes
Film installation demands surface prep. Any dust, paint speck, or residue on the glass becomes trapped under film.
Ask each provider:
• How they prepare the glass
• How they protect floors and trim
• Whether they remove or work around window stops
• How they handle tight edges near gaskets
You should also ask how they plan for doors and sidelights. Those panes often sit near traffic, pets, and kids. Scratches and edge wear show up more there.
Mistake 8: Cleaning too soon or using harsh products
New film needs time to cure. Early cleaning risks edge lift or cosmetic marks. Harsh cleaners risk surface damage.
Plan for care:
• Ask the installer for a wait period before cleaning
• Use a mild soap-and-water solution after curing
• Use microfiber cloths
• Avoid ammonia-based cleaners and abrasive pads
Mistake 9: Treating temporary curing effects as a failure
After installation, you might see haze, small water pockets, or slight distortion. Those effects often fade as moisture evaporates through the film and adhesive sets.
Ask for clear expectations:
• What the film looks like day one
• How it changes week one
• When it reaches final clarity
If you see large creases, heavy debris, or significant edge lift, document it with photos and ask about next steps.
Mistake 10: Overlooking indoor humidity and condensation risk
Humidity affects comfort and glass behavior. Huntsville summers bring humidity. Indoor humidity also rises from cooking, showers, and tight homes with limited ventilation.
Condensation control helps film look better over time:
• Run bath fans during showers
• Use kitchen ventilation during cooking
• Keep indoor humidity in a steady range with HVAC and dehumidification
• Wipe condensation from frames to protect wood sills
Mistake 11: Skipping paperwork and product identification
When you compare bids, you need product clarity. A proposal should identify the film type and where it goes.
Ask for:
• A room-by-room list of windows and film types
• Care instructions in writing
• Warranty terms stated without sales language
One neutral way to ground your comparison is to review the film categories shown on a local dealer report and use them as headings in your notes. I used the report titled Home Window Tinting Huntsville as a reference list of film types to keep estimates aligned across providers.
A homeowner checklist that avoids most problems
Use this list during estimates.
Planning
• Map sun exposure and glare times
• Decide which rooms need privacy day, night, or both
• Decide which rooms need light control
Window assessment
• Note any seal fogging or water issues
• Identify doors, sidelights, and low panes
• Ask about low-E and tempered glass
Proposal comparison
• Confirm room-by-room scope
• Confirm film type and intended purpose
• Confirm install steps and protection measures
• Confirm curing expectations and cleaning guidance
Local details to keep in mind in Huntsville
Older homes and newer builds behave differently. Mixed building eras also mean mixed window performance. Shade patterns change due to hills and mature trees. Attic heat adds a steady load in summer. Plan film with those realities in mind.
Window tinting works best when your plan stays specific. Define the problem by room, select film categories that match the problem, and compare providers on scope and install details. That approach keeps your home comfortable without surprises.