Planning a Fence Project for Bay Area Homes

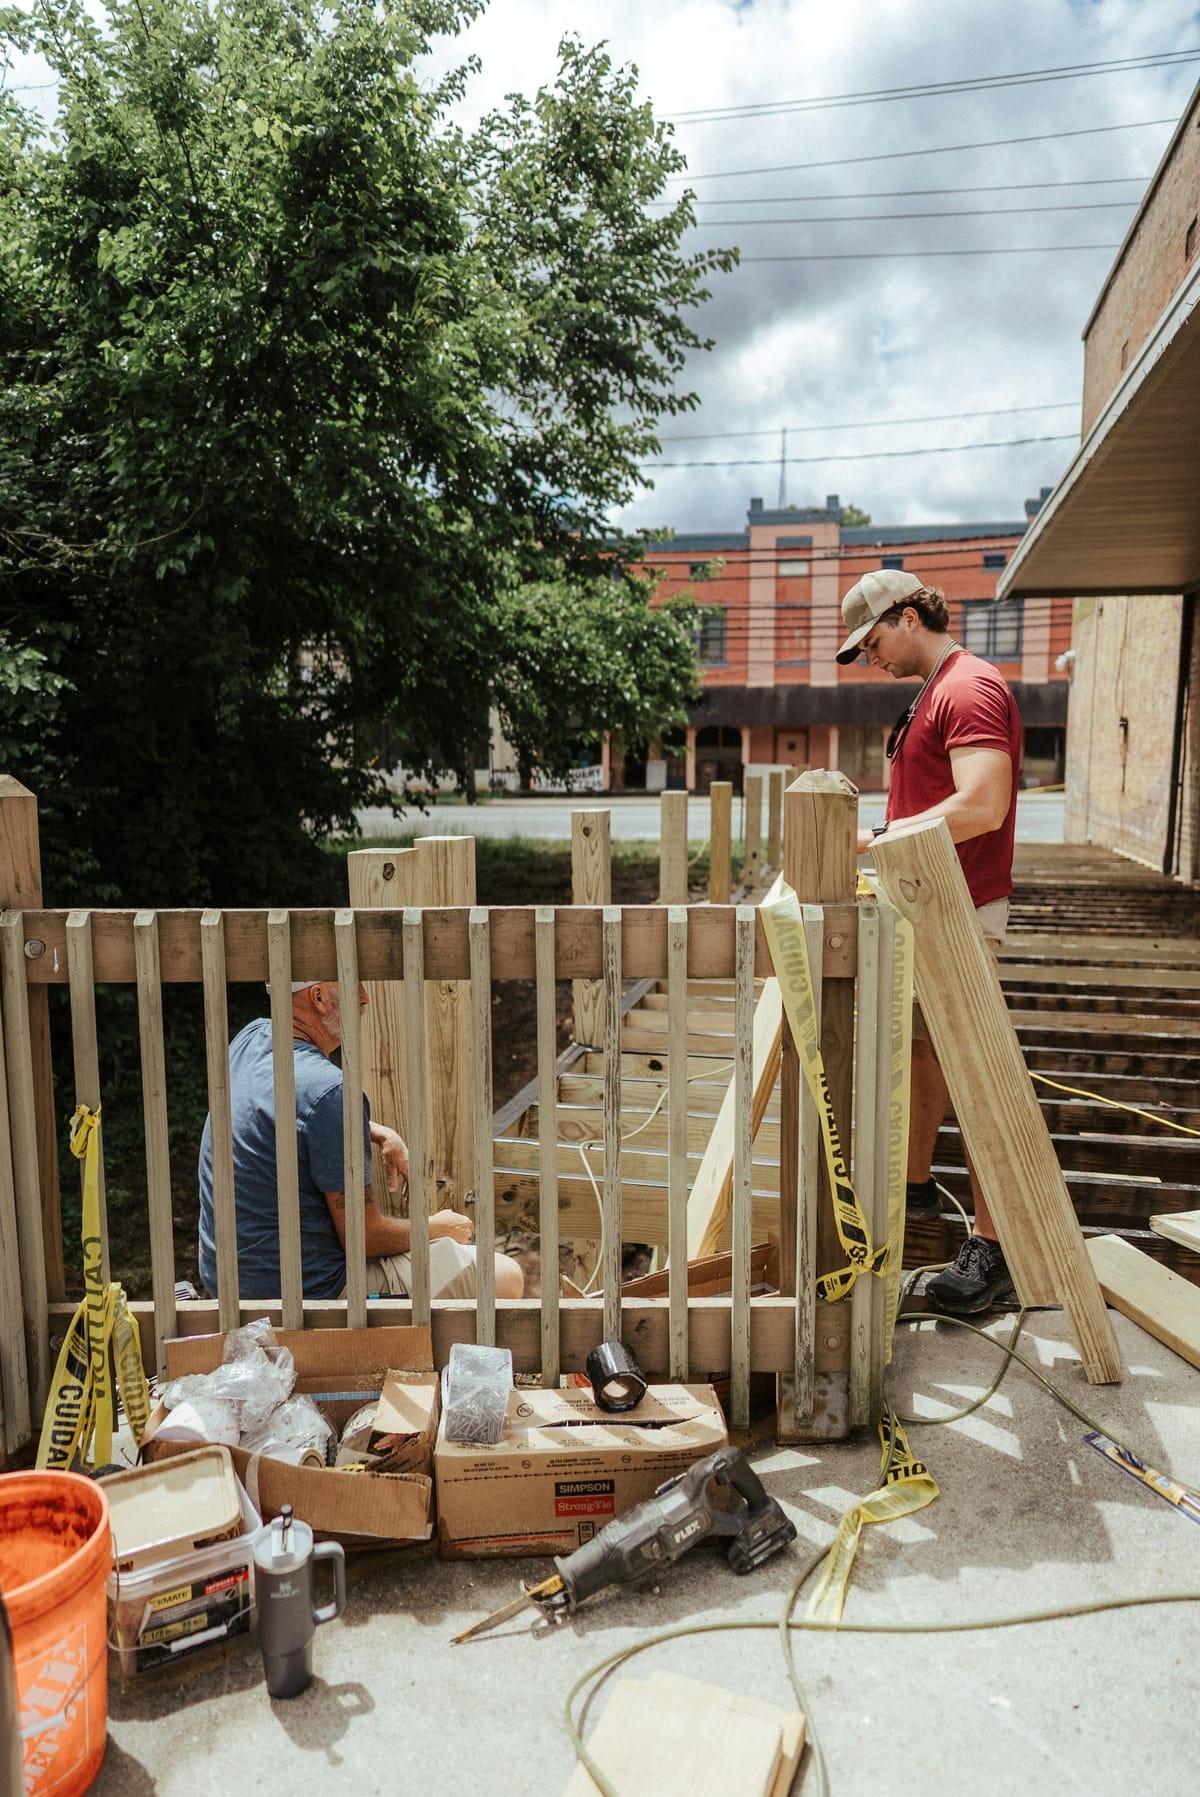
A fence problem shows up in simple ways. Panels lean after winter rain. Boards warp near sprinklers. Gates drag on the ground and stop latching. On shared lines, a neighbor disagreement turns a small repair into a bigger issue.
In the San Francisco Bay Area, fences face uneven terrain, mixed soil types, wind exposure, and damp microclimates. Coastal fog slows drying. Hillsides shift posts over time. Older lots sometimes have unclear boundary markers. A fence that looks straight on install day can start moving if the plan ignores these realities.
Define the job and set priorities
Start by writing what you need the fence to do. That decision drives height, materials, and gate design.
Common priorities
• Privacy from sidewalks and neighbors
• Containment for kids and pets
• Security and controlled access
• Clear boundary definition
• A consistent look along the street side
• Noise reduction near a road
Then list constraints.
• Slopes, steps, and grade changes
• Driveway location and parking access
• Existing trees and root zones
• Shared fence lines with neighbors
• HOA rules in planned communities and condos
Bring photos of problem areas and a simple sketch of the yard. A clear scope reduces change orders.
Confirm boundaries and local rules before digging
Many fence disputes start with assumptions about the property line. Fix that first.
Property line checks
• Find existing markers if present, then document them with photos
• Review your plot plan if you have one
• If the line feels unclear, talk with a surveyor before you commit to a new fence location
• If the fence will sit on a shared line, discuss scope and cost sharing with the neighbor early
Rule checks
Fence rules vary by city and neighborhood. Heights and setback rules often differ for front yards versus side and back yards.
Before signing a contract, confirm:
• Maximum height rules for your location
• Any corner visibility requirements near driveways and intersections
• HOA approval steps, including style and color restrictions
If your home sits on a hill in Oakland, San Francisco, or the Peninsula, also ask about rules tied to retaining walls. A tall fence installed atop a retaining wall may trigger additional requirements.
Choose materials that fit Bay Area conditions
Material choice should match exposure, moisture patterns, and maintenance expectations.
Wood options
Redwood often appears in Bay Area fencing due to appearance and outdoor performance. Cedar also appears in some projects. Pressure-treated lumber often shows up in posts and framing where ground contact occurs.
Ask each bidder to specify:
• Wood species and grade for boards
• Post material and treatment rating for ground contact
• Fastener type, especially for damp or coastal areas
• Whether the design keeps wood away from soil contact at the bottom edge
Metal posts and mixed systems
Many homeowners choose metal posts with wood panels to improve straightness and reduce long-term lean. This approach often helps on slopes and in windy areas.
If you consider metal posts, ask about:
• Post thickness and coating type
• How the installer isolates dissimilar metals to reduce corrosion at connections
• Hardware choice near the coast, where corrosion shows up faster
Composite and vinyl systems
Some homeowners choose composite or vinyl for reduced finish maintenance. These systems still rely on correct post installation and bracing. Ask about heat movement and expansion gaps, especially in inland areas with hotter summer afternoons.
Design details that control long-term problems
Small design choices often decide whether a fence stays straight and usable.
Post spacing and framing
Tight post spacing reduces panel flex and improves wind resistance. Wider spans reduce material cost but increase movement.
Ask for these details in writing.
• Post spacing target
• Rail size and count, especially for taller fences
• Panel attachment method, nails, screws, brackets, or a mix
• Bracing approach for wind exposure
Post depth and footing details
Posts fail when footings fail. Depth, diameter, and placement matter.
Ask about:
• Post hole depth tied to soil type and fence height
• Concrete footing size and whether the crew uses bell-shaped footings in certain soils
• How they keep posts plumb while concrete sets
• How they handle wet winter soil during installation
If your yard has clay soil, ask how they address soil movement. Clay swells when wet and shrinks when dry. That cycle pushes posts over time.
Grade changes and drainage gaps
Fences often fail at the bottom edge. Boards rot where soil stays wet and where mulch touches wood.
Better details include:
• A small gap between the bottom board and soil
• Gravel or drain rock zones near posts in problem areas
• A kickboard detail where needed, with correct separation from soil moisture
• Stepped sections on slopes instead of forcing one long section to follow uneven grade
Gate design that stays functional
Gates cause most fence complaints. A gate that sags leads to latch failure and scraping.
Ask for gate specs.
• Gate width and swing direction
• Hinge type and quantity
• Post reinforcement at hinge and latch posts
• Anti-sag bracing detail
• Latch type and lock option if needed
• Drop rod or cane bolt for double gates
If you need driveway access, ask about a double gate layout and a clear opening width that fits your vehicle.
Bay Area site realities that affect fence planning
A fence project in the Bay Area often involves site constraints that do not show up in flat, open lots.
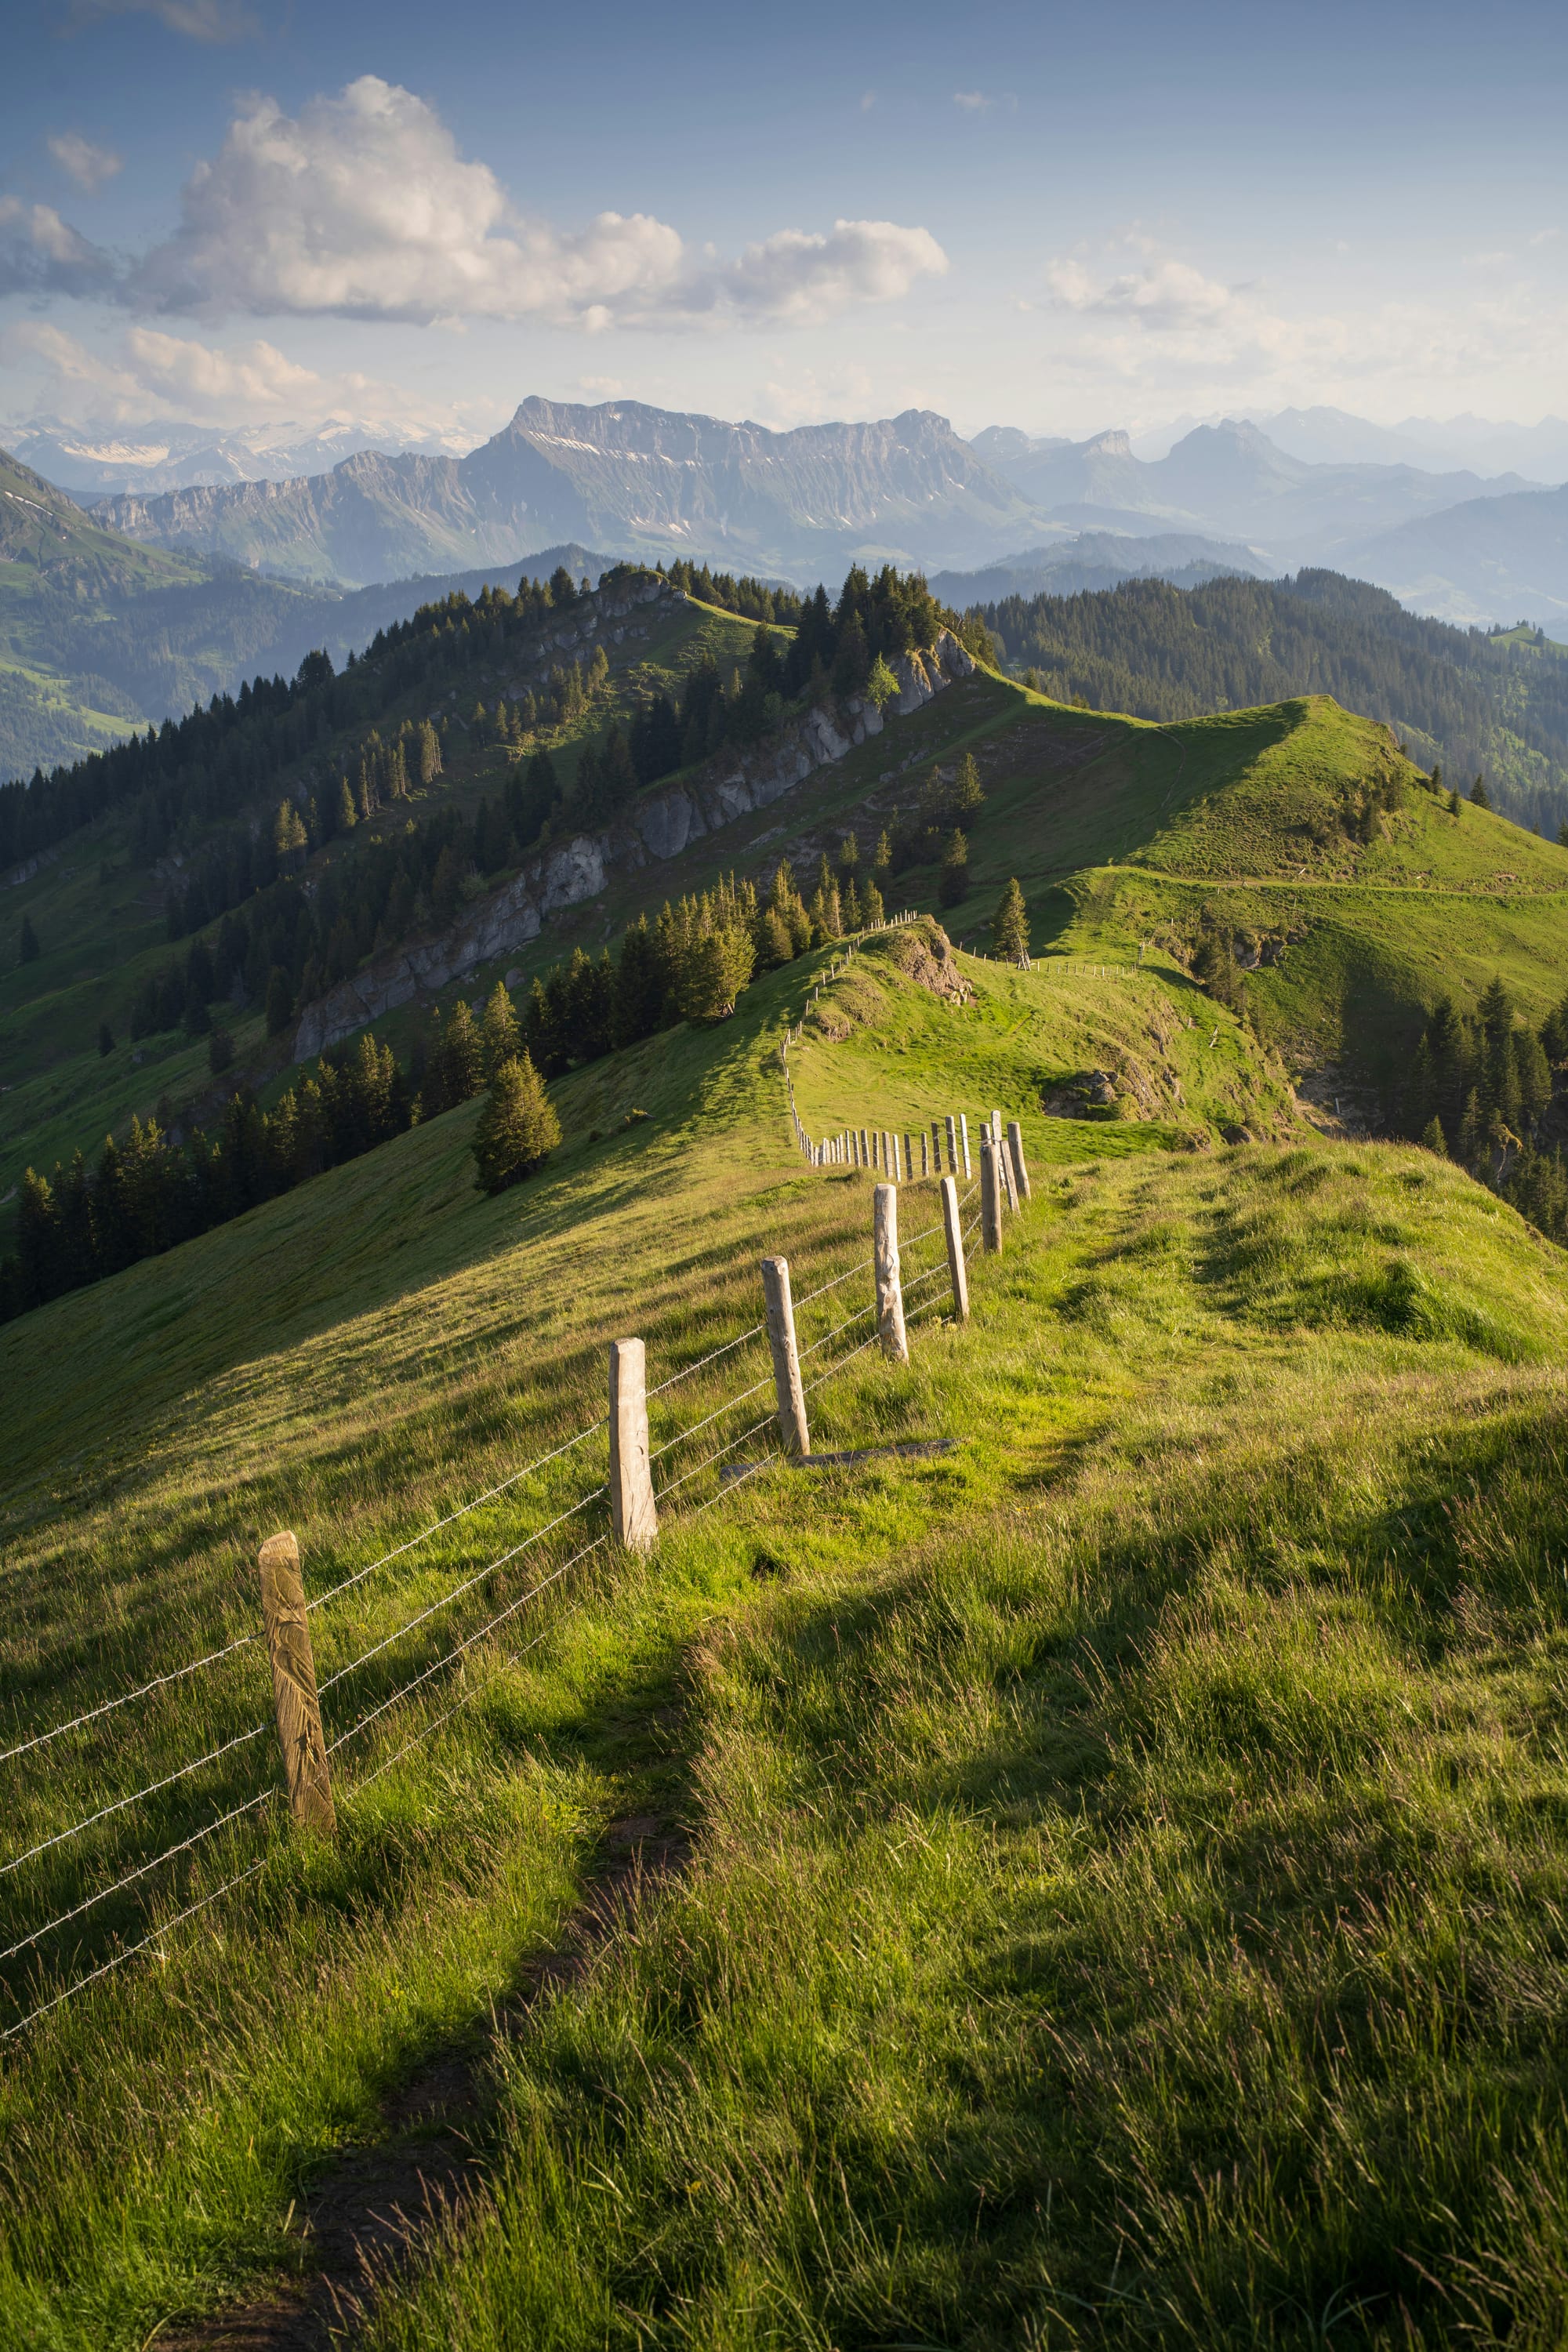
Hillsides and uneven lots
A fence on a slope needs a plan for stepped panels, raked panels, or a combination. Stepped panels look clean and keep rails level, but they create gaps at the bottom in some spots. Raked panels follow the slope and reduce gaps, but they demand careful layout and often create uneven board tops if the design does not account for it.
Fog belts and slow drying
In areas with frequent fog, wood stays damp longer. That affects stain timing and hardware corrosion. Ask about hardware finish and a realistic finish schedule.
Wind exposure
Hills, ridgelines, and open corridors create strong gusts. Taller privacy fences act like sails. Ask how the design handles wind loads through spacing, bracing, and post depth.
Older homes and unknown prior work
Older lots often have old posts, buried concrete, and unknown irrigation lines. Demolition and disposal scope matters more than most people expect.
Utility locating and access planning
Fence work involves digging. Utility locating protects your home and the crew.
Before digging:
• Request utility locating through 811
• Mark private lines if you have them, such as irrigation, low-voltage lighting, and private drains
• Confirm access routes for hauling old panels and bringing in posts
• Confirm whether the crew needs neighbor-side access for shared lines
If you live in a tight San Francisco side yard, ask how the crew plans to move materials without damaging siding, AC lines, and exterior fixtures.
How to compare fence bids with clarity
Fence bids vary widely because scope varies. Compare details first, then compare price.
Ask each bidder to include:
• Linear feet and fence height by section
• Gate count, size, and hardware specs
• Post material, size, spacing, and depth
• Concrete footing details
• Board type, thickness, and attachment method
• Demolition and disposal scope for the old fence
• Site protection steps for plants, hardscape, and sprinklers
• Finish scope, stain or seal, and timing
As a neutral research reference while you compare providers, review Bay Area fence contractors and use that context to build a consistent checklist for every estimate.
Watch for red flags
• No mention of post depth or concrete footings
• No hardware specs for gates
• No plan for slopes and grade changes
• Vague language about “repair as needed” with no unit pricing
• No disposal plan for old posts and concrete
Install-day checks homeowners should do
You do not need to supervise, yet a few checks help you confirm the job matches the plan.
Layout check
• Confirm the fence line matches the agreed layout before digging
• Look for a straight string line where straight runs are expected
• Confirm gate locations and swing direction before posts set
Post setting check
• Check that posts look plumb from multiple angles
• Confirm spacing matches the plan
• Confirm concrete sits below grade where needed, so soil and mulch do not hold water against the post base
Panel and board check
• Confirm consistent board spacing if the design uses gaps
• Confirm tops align cleanly along straight runs
• Confirm stepped sections look intentional on slopes
Gate check
• Open and close the gate several times
• Confirm the latch engages without lifting the gate
• Confirm clear ground clearance across the swing path
A practical maintenance plan
A fence lasts longer with routine care, especially in damp microclimates.
Basic upkeep
• Keep soil and mulch off the bottom of boards
• Adjust sprinklers so they do not spray the fence
• Clear plants and vines away from panels and posts
• Tighten loose hardware when you notice movement
• Clean and lubricate gate latches and hinges as needed
Finish timing
If you stain or seal, follow a schedule that fits exposure. Coastal and foggy areas often need closer attention on shaded sides. Inland sun exposure often fades finishes faster on south and west faces.
Fence projects go smoothly when you start with boundaries, match materials to microclimate, and demand clear post and gate specs in bids. In the Bay Area, hills, moisture patterns, and tight access make planning and scope detail the difference between a fence that stays straight and a fence that starts leaning after the first hard winter.