Stop Yard Flooding Before You Pour New Concrete

You want a new patio, walkway, or driveway. Then the first winter rain hits, and water pools where you planned to build. In the Bay Area, that problem shows up fast, steep lots, clay soils, older drainage, and homes built across many decades.
This post covers one homeowner situation: you are planning a concrete or hardscape upgrade, and you also have water management concerns near the house. The right sequence protects your investment and reduces the chance of water pushing toward your foundation.
Start with the symptoms you can see
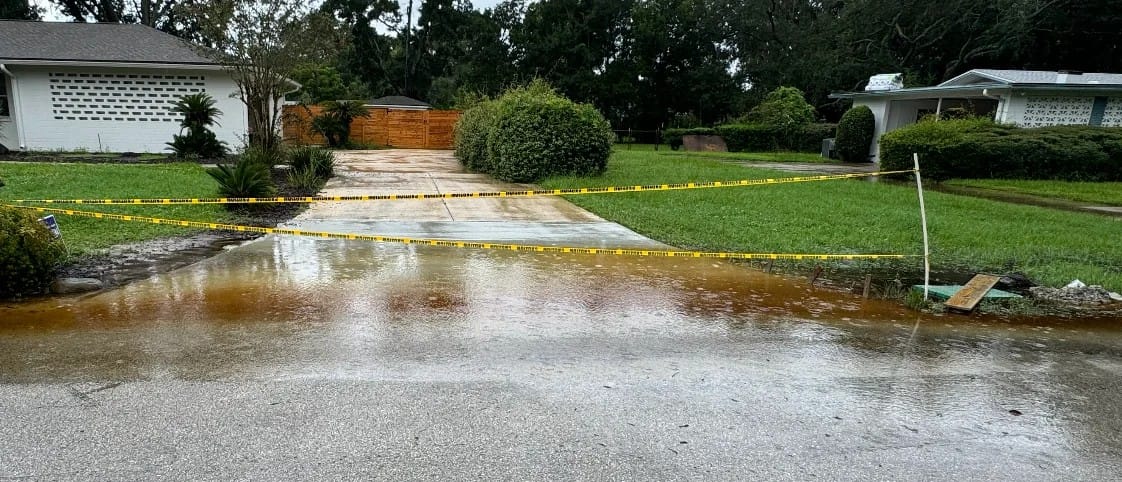
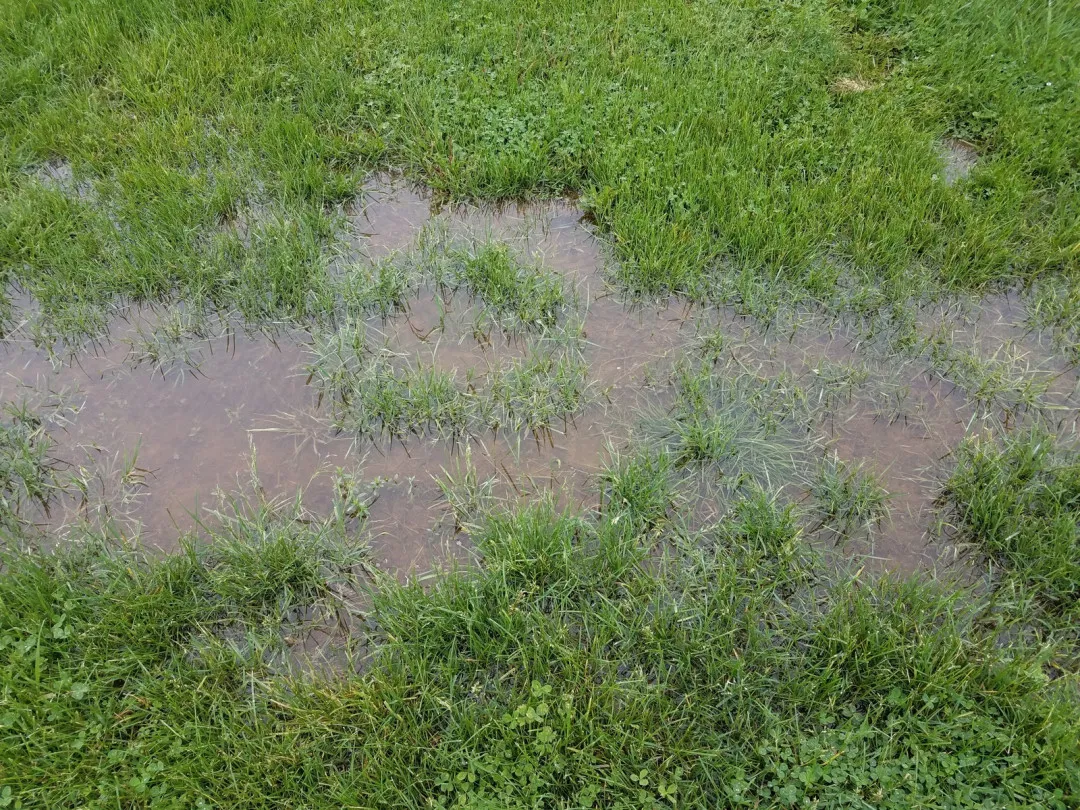
Walk the property during or right after a rain. Take photos.
Look for:
• puddles that sit for more than a few hours
• water flowing toward the house, not away
• damp crawlspace vents or musty odor under the home
• soil washout near paths or steps
• cracks or settling in slabs near downspouts
• standing water at the base of retaining walls
On hillside lots in Oakland, Berkeley, and parts of San Francisco, water can pick up speed. On flatter areas, water spreads and finds low spots. Both patterns matter when you plan hardscape.
Understand how hardscape changes runoff
Concrete and pavers shift where water goes. A new slab can fix a muddy area, yet it can also push runoff toward a side yard, a neighbor, or the foundation.
Before final design, map these items.
• roof runoff paths
• downspout discharge points
• existing drains, cleanouts, and catch basins
• slope direction along the side yards
• low points near doors, garages, and crawlspace vents
Then decide what the hardscape needs to accomplish.
• direct water to a safe discharge area
• keep water away from the foundation edge
• reduce erosion on slopes
• create stable walking surfaces without trapping water
Choose the right sequence: water first, surface second
If drainage problems exist, solve them before new concrete goes in. Otherwise, you lock in the wrong grades.
A common sequence that works well:
- drainage and water collection plan
- any needed excavation and subgrade prep tied to that plan
- hardscape installation with final slopes set to support drainage
- final connection of downspouts and area drains
- final surface sealing or finishing after curing timelines
If you want a neutral reference point for the kinds of concrete and hardscape work that shows up in residential projects, review the ARP Hardscape and note common elements like driveways, walkways, retaining walls, and paver features.
Drainage tools homeowners should understand
You do not need engineering jargon. You need basic clarity.
Common drainage elements:
• surface grading: shaping soil so water flows away from the home
• area drains: grated inlets that catch surface water
• French drains: perforated pipe in gravel that collects subsurface water
• sump pumps: pumps that move collected water away when gravity drainage is not enough
• swales: shallow channels that guide water without pipes
Each tool fits a different problem. Standing water in a low courtyard differs from seepage at a subbasement wall.
Foundation risk signs that change the plan
Hardscape work often touches the foundation edge, especially near front steps, garage aprons, and side yards. Pay attention to these signs:
• interior cracks that grow or change
• doors that stick more in winter
• sloping floors near exterior walls
• water stains at baseboards
• crawlspace moisture or standing water
• retaining walls that lean or bulge
These signs do not prove foundation failure. They signal that drainage and soil movement deserve attention before you add new loads or new surfaces.
Permits and inspections in the Bay Area
Cities vary. Some projects need permits when you alter drainage, add retaining walls, or change structural elements. Inspections can affect the schedule.
Ask early:
• does the plan change drainage discharge
• does the work touch a retaining wall over typical height thresholds
• does the work affect a driveway apron near public sidewalk
• does the work involve excavation near the foundation
A contractor who works locally will know the rhythm of permitting and the constraints of tight lots and limited staging areas.
Design checks that prevent water problems after installation
These simple checks catch most mistakes.
Slope check
• surfaces near the home should slope away from the foundation
• avoid flat slabs that trap water at the wall line
• confirm the slope direction at gates and side yard pinch points
Downspout check
• downspouts should not dump onto new slabs without a plan
• connect downspouts to appropriate drainage when needed
• keep discharge away from the foundation edge
Joint and edge check
• where a slab meets the house, leave room for proper sealing
• avoid burying siding or weep screeds with new concrete
• plan for expansion joints to reduce random cracking
Drain access check
• keep cleanouts accessible
• do not bury drain grates under furniture zones or planters
• plan for maintenance access
How to compare providers for this combined situation
This project touches two trades. You need clarity on responsibility.
Concrete and hardscape scope questions
• who sets finish grades, and how they get verified
• what base preparation occurs, and how compaction gets handled
• how edges meet existing slabs, steps, and garden borders
• what happens at utility covers, cleanouts, and drains
Foundation and drainage scope questions
• where water will collect, where it will discharge
• what happens when soil conditions change during excavation
• how drainage ties into sump pumps if needed
• how the plan protects the foundation and retaining walls
For a neutral overview of foundation and drainage service scope, including work tied to seepage, flooding, retaining walls, and specialized drainage systems, reference the Alameda Engineering and compare how a drainage plan aligns with the hardscape layout.
Local conditions to keep in mind
Older homes and mixed building eras mean mixed soils and older pipes. Add microclimates and you get different problems a few blocks apart.
• shaded side yards stay damp longer
• coastal zones deal with moisture and salt air
• inland areas see heat that dries soil, then winter rains that swell it
• hills concentrate runoff and raise erosion risk
Your plan should fit your lot, not a generic template.
A simple homeowner action plan
If you want a practical path forward, use this order.
- Document water behavior in rain with photos
- Mark low spots and flow direction with chalk
- Identify downspout locations and discharge points
- Decide what surfaces you want, patio, walkway, driveway, steps
- Get a drainage plan aligned with those surfaces
- Confirm final grades before concrete or pavers go in
- Keep drain access points visible after completion
A new patio or driveway should improve daily life, not reroute water into your crawlspace. When you handle water first and surfaces second, the project supports the home instead of fighting it.