Transforming a Cluttered Garage Into Real, Usable Space

For many homeowners, the garage is where all the things that don’t fit in the house end up: old sports gear, paint cans, camping equipment, tools, holiday decorations, and random boxes from the last move. Over time, that “temporary” storage can turn into a maze you have to navigate just to find the ladder or reach the washer.
In the Bay Area, where square footage is precious and many homes have limited storage, a well-organized garage can feel like gaining an extra room. Whether you want a clean place to park, a mini workshop, or simply a safer, less stressful space, a little planning goes a long way.
This guide will walk you through how to think about your garage, what kinds of storage systems are available, and how to decide when it makes sense to bring in professional help.
Step 1: Decide What Your Garage Should Actually Do
Start by asking a simple question: “If this garage worked perfectly for my life, what would it do?” Your answer might include:
- Room to park one or two cars
- A small area for tools and DIY projects
- Accessible storage for sports gear and outdoor equipment
- Space for laundry and bulk household supplies
- A landing area for shoes, jackets, and backpacks
It’s easier to make decisions about what stays and what goes when you’re clear about your priorities. If your top goal is secure parking, for example, you may be more willing to part with items that prevent your car from fitting inside.
Take a walk through the garage and jot down the main categories of items you see: tools, holiday decor, kids’ toys, garden supplies, etc. This quick inventory helps you understand what you need to store before you start buying shelves or cabinets.
Step 2: Declutter Before You Design
Organizing around clutter is a losing battle. Before you think about fancy storage systems, spend some time editing what you own.
Create three basic zones:
- Keep: Items you use at least once or twice a year or that you truly value
- Donate/Sell: Items in good condition you no longer need
- Dispose: Broken, expired, or unsafe items
A few tips:
- Be honest about “someday” projects and equipment you haven’t touched in years.
- Check expiration dates on paint, chemicals, and sealants. Dispose of hazardous materials properly, according to local guidelines.
- If you have duplicates (four hammers, three sets of golf clubs), keep the best and let the rest go.
Decluttering can feel tiring, but every item you let go of is one less thing you have to store and manage.
Step 3: Plan Zones That Match How You Live
Once you’ve narrowed down what’s staying, think about where those items should live in the garage. Group things by how and how often you use them.
Common zones include:
- Everyday access: Shoes, jackets, umbrellas, and backpacks near the door to the house
- Tools and DIY: Workbench, tools, hardware, and safety gear in one corner
- Sports and recreation: Bikes, balls, camping gear, and outdoor toys together
- Yard and garden: Rakes, shovels, lawn tools, and soil near the garage door or side door
- Long-term storage: Holiday decorations, seasonal items, and rarely used keepsakes on higher shelves or overhead racks
Try to keep frequently used items between waist and shoulder height for easy access. Seasonal or rarely used items can go higher up, as long as they’re safely secured.
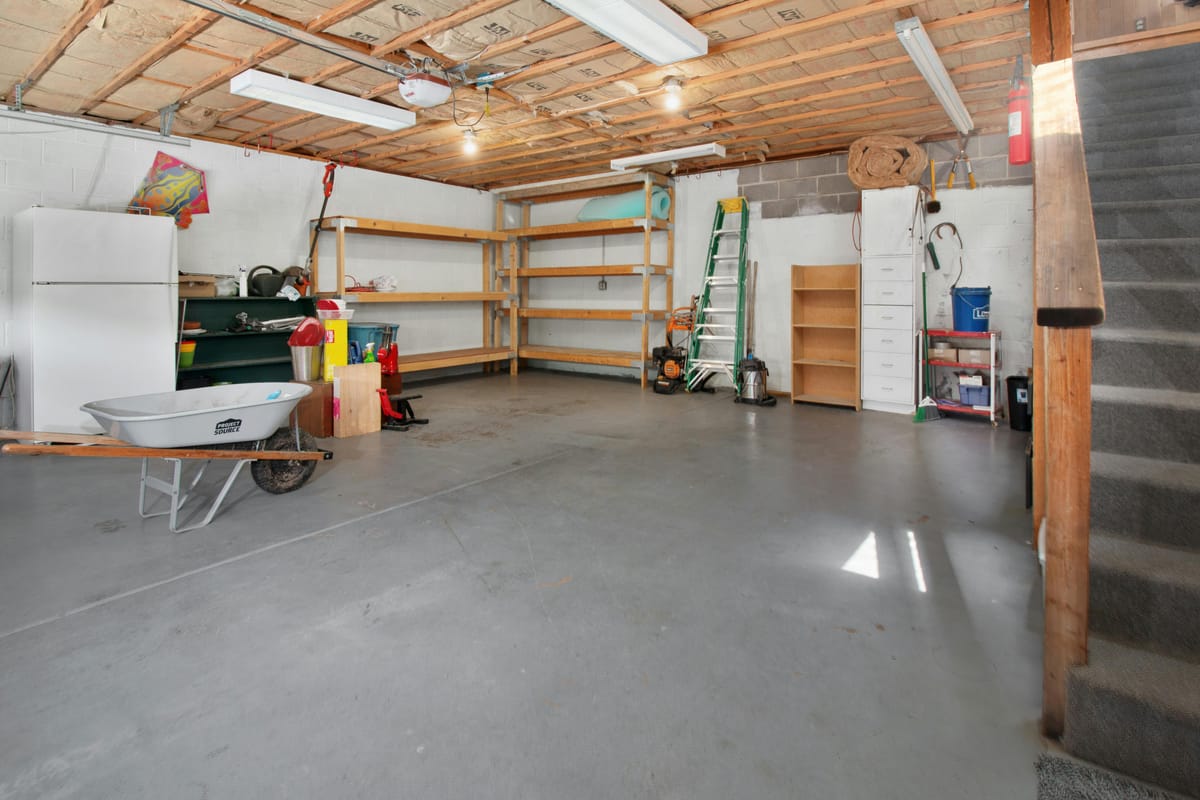
Step 4: Understand Your Storage Options
A big part of garage organizing is choosing the right combination of storage systems. Here are some common options and when they make sense.
Wall-Mounted Systems
Shelving:
- Good for large, bulky items like bins, coolers, and camping gear
- Adjustable shelves let you change the layout as your needs evolve
- Metal or heavy-duty plastic is typically best for garages
Cabinets:
- Keeps visual clutter hidden
- Useful for storing chemicals, paints, and sharp tools out of children’s reach
- Doors help protect items from dust and moisture
Pegboards and Slatwall:
- Ideal for tools, smaller equipment, and frequently used items
- Hooks and baskets can be rearranged as needed
- Keeps things off the floor and easy to see at a glance
Ceiling and Overhead Storage
For garages with decent ceiling height, overhead racks can free up a lot of floor space. These are best for:
- Seasonal items (holiday decor, camping gear)
- Lightweight but bulky items that don’t need to be accessed weekly
Make sure any overhead system is properly anchored and not overloaded. Regularly check for signs of wear or strain.
Specialty Racks and Holders
Depending on your hobbies and lifestyle, you might benefit from:
- Bike racks (wall-mounted or ceiling hoists)
- Vertical storage for surfboards, paddleboards, or kayaks
- Garden tool racks and hose reels
- Ball cages and sports gear bins
These specialized solutions can keep awkwardly shaped items under control and protect them from damage.
Step 5: Safety and Bay Area-Specific Considerations
In the Bay Area, garages often serve multiple purposes—parking, storage, laundry, and sometimes even workspace. That makes safety especially important.
Consider:
- Earthquake risks: Secure tall shelving and cabinets to the wall. Use edge lips or bins to prevent items from sliding off shelves during a quake.
- Moisture and temperature changes: Many garages are only semi-finished. Choose materials that resist rust and warping, and avoid storing delicate items (like photos or sensitive electronics) directly on concrete floors.
- Shared driveways and tight spaces: If you have a narrow driveway or small lot, plan storage so doors can fully open and there’s room to move safely around parked cars.
- Access to utilities: Keep water heaters, electrical panels, and gas shutoff valves accessible. Don’t block these areas with permanent storage.
Safety considerations may influence your layout and which systems make the most sense for your particular garage.

Step 6: DIY vs. Hiring a Professional
Some homeowners enjoy planning and installing their own garage systems, especially if they’re comfortable with tools and measuring. Others prefer to bring in professionals who can design and install a solution tailored to the space.
A professional can:
- Evaluate your walls, ceiling, and structural considerations
- Suggest layouts that maximize every inch of usable space
- Recommend products that are suited to your climate and usage
- Install systems securely and efficiently
If you’re leaning toward hiring help, it can be useful to look at Bay Area garage storage & organizing companies to get a sense of what kinds of services are available, from simple shelving installations to fully customized systems with cabinets, workbenches, and specialized racks.
Questions to Ask Before You Commit
When you speak with potential professionals, consider asking:
- Do you provide a 3D or visual layout before installation?
- What’s the weight rating on shelves, racks, and overhead systems?
- How will you anchor systems to my particular wall type (drywall, concrete, etc.)?
- Can the storage be adjusted or expanded in the future?
- What kind of warranty do you offer on products and installation?
Clear answers to these questions can help you feel more confident about your investment.
Step 7: Maintaining Your New System
A well-planned garage system should make it easier to stay organized, not harder. Still, some simple habits will keep things running smoothly:
- Do a quick tidy once a month—put stray items back in their zones.
- Once or twice a year, do a mini-declutter, especially after holidays or sports seasons.
- Adjust shelf heights or hooks if your storage needs change.
- Keep a small donation box in the garage so it’s easy to let go of items you no longer need.
Think of your garage as a living space that supports your daily routine, not just a dumping ground.
Bringing It All Together
Transforming a cluttered garage doesn’t happen overnight, but it also doesn’t need to be overwhelming. By clarifying your goals, decluttering thoughtfully, planning functional zones, and choosing storage systems that match how you actually live, you can turn your garage into a practical, safe, and even pleasant part of your home.
Whether you tackle the project on your own or work with a professional, every step toward a more organized garage pays off in daily convenience, reduced stress, and better use of your valuable Bay Area square footage.